Did you know that over 126 million players worldwide play Minecraft? With so many players, keeping your gaming smooth and consistent is key. This is especially true when moving playerdata from one server to another. Learning how to transfer playerdata from a Minecraft server keeps your progress safe and improves your game.
Whether you’re moving to a new server or switching Minecraft worlds, knowing how to transfer player data is crucial. This guide will show you how to move your player data smoothly. We’ll cover why this process is important and give you the steps to do it right.
Key Takeaways
- Understanding playerdata is crucial for a seamless gaming experience.
- Backups are essential before any data transfer.
- Identifying playerdata files is the first step in the transfer process.
- Common pitfalls can be avoided with careful planning.
- Different versions of Minecraft may require specific considerations.
Understanding Minecraft Player data
Minecraft player data are the key files that keep track of your character’s journey. They are vital for improving your game experience. They hold player data definitions that are crucial for playing the game, and understanding what density does in Minecraft can further enhance your gameplay.
What is Playerdata in Minecraft?
In Minecraft, playerdata files are the core of your character’s traits and items. Each player has their own file, which helps track their progress. When you start playing, the game uses this data to keep track of your progress through various challenges.
Key Attributes of Player data Files
Knowing how playerdata files work is important, especially when you’re moving or modifying your game. These files, with a .dat format, have many attributes. They show your character’s status, like:
- Health Points: This shows how healthy your character is.
- Player Location: It tells you where your character is in the Minecraft world.
- Inventory: It lists the items and resources your character has.
- Achievements: Record the quests and milestones you’ve finished.
| Attribute | Description |
| Health Points | Shows how healthy your player is. |
| Player Location | Tells you where your player is in the game world. |
| Inventory | Lists the items your player is carrying. |
| Achievements | Keep track of all the goals and milestones you’ve reached. |
Preparing for Player data Transfer
Transferring player data in Minecraft needs careful planning. First, back up your server to protect your game info from transfer problems. This guide will show you how to make backups and find player data files. Knowing these steps will help make the transfer smooth and quick.
Backup Your Current Server
Using the best backup methods for Minecraft can prevent future issues. You have several ways to back up your server:
- Use server management tools like Multicraft or Bukkit.
- Manually copy the server directory to another place.
- Try plugins made for backup.
After backing up, check that the data is there and can be accessed. This backup plan lets you easily fix your server if transfer problems happen.
Identifying the Playerdata Files
Now, find the playerdata files you need for the transfer. Learn the layout of the Minecraft directory to make this easier.
Playerdata files are usually in the “world” folder under “playerdata.” They have UUIDs that identify each player.
To find these files:
- Go to your server’s main directory.
- Open the “world” folder.
- Look for the “playerdata” folder inside.
Knowing where these files are is key to a successful transfer. By following these steps, you’re ready for the transfer process.
How to Transfer Playerdata from World Minecraft Server
Transferring playerdata in a Minecraft server can seem tough, but it’s easier with the right steps. Knowing how to move playerdata makes it smooth. Here’s a step-by-step guide to help you transfer player data without losing any information.
Step-by-Step Transfer Process
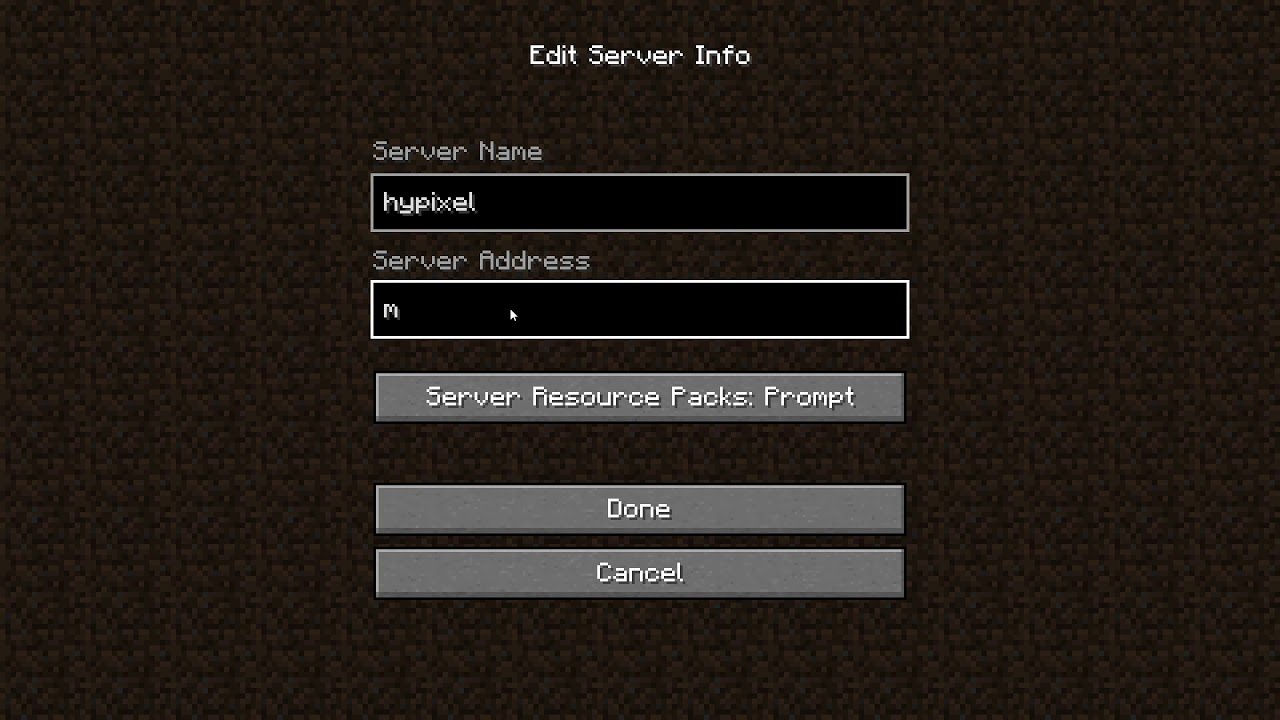
- Access the Minecraft Server Files: Start by going to the server files on your computer or host. Make sure you have the right permissions to do this.
- Locate the Playerdata Folder: In the server’s directory, find the “playerdata” folder. It’s usually in the “world” folder, where all player data is stored.
- Copy the Playerdata Files: Pick the playerdata files you want to move. Right-click and choose “Copy” to make sure everything is included.
- Paste in the New Server Environment: Move to the new server’s “playerdata” folder and paste the files you copied.
- Verify the Transfer: Start the new server and log in to check if all playerdata moved correctly and works as expected.
Common Mistakes to Avoid
Knowing what mistakes to avoid can make transferring playerdata easier. Here are some common errors to steer clear of:
- Neglecting Backups: Always back up your original playerdata files before you start transferring. This keeps your data safe.
- Incorrect File Merging: Don’t mix files from different server versions. This can cause compatibility problems.
- Overlooking Permissions: Make sure the new server lets you access playerdata files. Wrong permissions can stop players from logging in.
- Ignoring Updates: Check if the new server needs updates or special settings that could affect player data.
Transferring Player data Between Minecraft Worlds
Moving player data between Minecraft worlds can be tricky, especially when you switch between different game versions. The game’s updates often change how player data works. Knowing these changes can make moving your data smoother and keep your game running well.
Moving Between Different Minecraft Versions
Trying to move player data across different Minecraft versions can lead to problems. Each update brings new features or changes to player stats. Here are some important tips:
- Make sure your saved playerdata files work with the new version. Some newer versions might not support older data.
- Always back up your files before moving them. This way, you can go back if something goes wrong.
- Using tools made for changing versions can help fix any issues.
Considerations for Modded Servers
Modded Minecraft servers add more things to think about when moving playerdata. Mods can change how playerdata files work, causing problems. Keep these points in mind:
- Know how the mods you use change playerdata. Some might add new fields that the game doesn’t know about.
- Check the mod guides for advice on moving playerdata.
- Try testing playerdata moves in a safe place to avoid problems on your main server.
| Version | Compatibility | Best Practices |
| 1.16 | Limited to 1.15 | Use conversion tools |
| 1.17 | No compatibility for 1.15 | Back up and test |
| 1.18 | Compatible with 1.17 | Check mod impacts |
Knowing how to move playerdata between Minecraft worlds helps you deal with version and mod issues. By preparing and understanding each version or mod, you can improve your game experience. This keeps your gameplay smooth and enjoyable.
Tools You Need for Playerdata Migration
Migrating playerdata in Minecraft is easier with the right tools. You’ll want to find options that make the process simpler and keep your data safe. Let’s look at some top software and how to use command lines for file management.
Recommended Software and Plugins
Choosing the right software can save you a lot of time and effort. Here are some top picks for moving playerdata in Minecraft:
- Minecraft Server Manager: This plugin makes handling player files easy and offers a simple server management interface.
- NBTExplorer: Great for directly editing playerdata files, it lets you check attributes quickly.
- MCEdit: A strong tool for moving and editing Minecraft worlds, ideal for handling many files at once.
Using Command Line for File Management
If you’re good with command lines, managing playerdata files can be very flexible. Here are some key commands for moving files:
- cd – Move to the directory with your playerdata files.
- cp – Copy playerdata files to a new spot. For example: cp -r /path/to/playerdata /new/path/.
- mv – Move playerdata files with the command: mv /path/to/playerdata /new/path/.
- rm – Delete old files after checking: rm /path/to/old/playerdata.
Using these tools makes migrating playerdata smooth and keeps your data safe. Understanding both software and command lines will help you manage your Minecraft files better.
Moving Playerdata in Minecraft Server
Moving playerdata in a Minecraft server requires careful steps for a smooth move. You might need to move player inventories or manage player worlds. It’s important to know how playerdata files work for a successful move.
First, find the playerdata files in the server’s “world” folder. These files hold info on player inventories, where they are, and more. After finding them, make a backup to keep your data safe.
Ready to move the playerdata? Here’s what to do:
- Stop your Minecraft server to avoid data loss.
- Go to the playerdata folder in your current world.
- Move the playerdata files to where you want them or a new server.
- Start the server again and check the player data is correct.
Remember, settings and permissions on your server can change how playerdata works. Test the move in a safe area before making it final. This ensures everything works well.
Using the right tools makes moving playerdata easier and less likely to go wrong. Keeping things organized and backing up regularly keeps your game safe and your playerdata secure.
| Step | Action | Details |
| 1 | Stop Server | Prevent data corruption during transfer. |
| 2 | Locate Files | Find the playerdata folder in your world directory. |
| 3 | Copy Files | Transfer files to the new server or desired location. |
| 4 | Restart Server | Check player data integrity after restart. |
World Minecraft Playerdata Transfer Process Explained
The process of transferring playerdata in Minecraft involves understanding the file structure. This structure is key for customizing your game. It helps you make changes effectively.
Understanding the File Structure
Playerdata files are found in the “world” directory under “playerdata.” Each player has a file named after their UUID. This setup links each player to their data accurately. Inside these files, you’ll find important info like:
- Player name
- Inventory items
- Health and stats
- Spawn location
- Achievements
Always back up the playerdata files before transferring data. This step keeps players’ progress safe from errors. Knowing the file structure helps you edit playerdata files with confidence.
Editing Playerdata for Customization
Editing playerdata files is a big part of the transfer process. You can change many parts of your game by tweaking parameters. Some common changes include:
- Changing player skin
- Setting spawn points
- Adjusting inventory items
- Modifying player statistics
Always back up your playerdata files before editing. Use a text editor or special software for safe edits. This way, you avoid file corruption and keep the player data right.
Troubleshooting Playerdata Transfer Issues
Transferring playerdata can sometimes lead to frustrating problems. You might face issues like data corruption, losing player stats, or trouble loading modified worlds. It’s important to know how to fix these issues to keep your game running smoothly.
Common Errors and Their Solutions
Here are some common problems you might run into, along with ways to fix them:
| Error | Description | Solution |
| Data Corruption | Playerdata files can become corrupted during transfer, causing in-game anomalies. | Use backups to restore original files and ensure data is validated before the transfer. |
| Loss of Player Stats | Stats may disappear after the transfer, affecting gameplay experience. | Check file integrity before transfer and ensure stats are current and accurate. |
| Inability to Load Worlds | Some modified worlds may not load correctly after playerdata migration. | Verify compatibility with your version of Minecraft and restore from a backup if necessary. |
| Missing Items | Players may find their items missing post-transfer. | Revisit the transfer procedure and confirm that item inventories were included in the migration. |
By knowing these common errors and how to fix them, you can avoid many problems with transferring playerdata. Always stay organized and careful during the process for the best results.
Best Practices for Playerdata Management
Keeping your playerdata in check can make your Minecraft experience better. It’s important to organize your playerfiles well. This means focusing on regular backups and keeping your playerdata files tidy.
Regular Backups
Make a habit of backing up your Minecraft data often to prevent losing it. Doing this keeps your server safe, especially when you make changes or encounter errors. Here are some tips:
- Use plugins for automated backups.
- Keep backups on different devices, like USB drives or in the cloud.
- Plan to back up before big updates or changes.
Organizing Player data Files
Having a clear system for your player data files makes them easier to find and manage. Here’s how to keep them organized:
- Use clear folder names, like “Player_Backups_2023”.
- Put playerdata files into groups based on date or type of activity.
- Check your files often to remove duplicates and old ones.
FAQ
What is player data in Minecraft?
Player data in Minecraft is about the files that hold info on a player’s character. This includes things like what they have in their inventory, their health, and their progress in the game. These files are saved as .data and are in the server’s world directory.
How do I back up my current server before transferring player data?
Backing up your server means making a full copy of the server folder where your worlds and player data are. Use server management tools or commands to do this. It’s key to keep backups to ensure your data is safe and can be fixed if problems happen during the transfer.
What are the steps to transfer player data from a world Minecraft server?
First, backup your server. Then, find the player data files in the directory. Copy these files and put them in the new server’s player data folder. Make sure you don’t mix files that won’t work together, as this can damage your data.
What common mistakes should I avoid during the playerdata transfer process?
Don’t forget to back up your server, mix files wrongly, or overlook version compatibility. To avoid these mistakes, go through your steps carefully and make sure you’re moving the correct files.
Can I transfer player data between different Minecraft versions?
Yes, you can move player data between different Minecraft versions. But, be aware that updates might cause compatibility problems. Always check if mods or features from the old version could affect your player data before moving it.
What tools can help with player data migration?
Tools like server management plugins and software for backing up and moving data are good for playerdata migration. If you’re good with command lines, you can also use terminal commands to make the process easier.
How can I edit player data files for customization?
You can edit player data files with special software that can read and change .data files. This lets you change things like where the player spawns, what they have in their inventory, and their skin. Always back up the original files before making any changes.
Conclusion
Understanding how to transfer player data in Minecraft is key for a smooth move. By getting ready, knowing what tools you need, and following best practices, you can make managing player data easier. This guide covers the main steps to keep every player’s progress and settings safe.
Also, knowing common issues can prevent future problems. Use tools like plugins and command-line utilities to help with the transfer. This makes the process smoother and more fun.
Successful player data transfer keeps gameplay true to form and strengthens your Minecraft community. Keeping player data organized and backed up ensures your server stays stable and players happy. Your effort in these areas will greatly improve your Minecraft experience.